How to Remove Mould from Outdoor Stone in Sydney(And Why It Keeps Coming Back)
If you’ve noticed black or green patches creeping across your outdoor stone pavers, you’re not alone. Mould on natural stone is one of the most common complaints we hear from Sydney homeowners — and one of the most misunderstood.
The problem isn’t just cosmetic. Left untreated, mould penetrates deep into the pores of natural stone and becomes genuinely difficult to fully remove. Worse, most DIY attempts don’t fix it — they just delay the next outbreak.
Here’s what you actually need to know.
Why Sydney Homes Are Especially Vulnerable
Sydney’s coastal climate creates near-perfect conditions for mould growth on outdoor surfaces. The combination of summer humidity, salt air, and shaded outdoor areas — think south-facing patios, spaces under trees, or areas near pools — keeps stone surfaces damp for extended periods.
Natural stones like sandstone, limestone, marble, and travertine are porous by nature. Moisture doesn’t just sit on top — it gets absorbed into the stone. Once mould takes hold beneath the surface, a hose and some scrubbing won’t reach it.
Common surfaces where we see the worst mould problems in Sydney homes:
- Sandstone pavers around pools and entertainment areas
- Limestone pathways on south-facing sides of the house
- Marble steps and feature walls exposed to morning shade
- Any stone surface where pot plants sit regularly
What Mould Actually Does to Your Stone
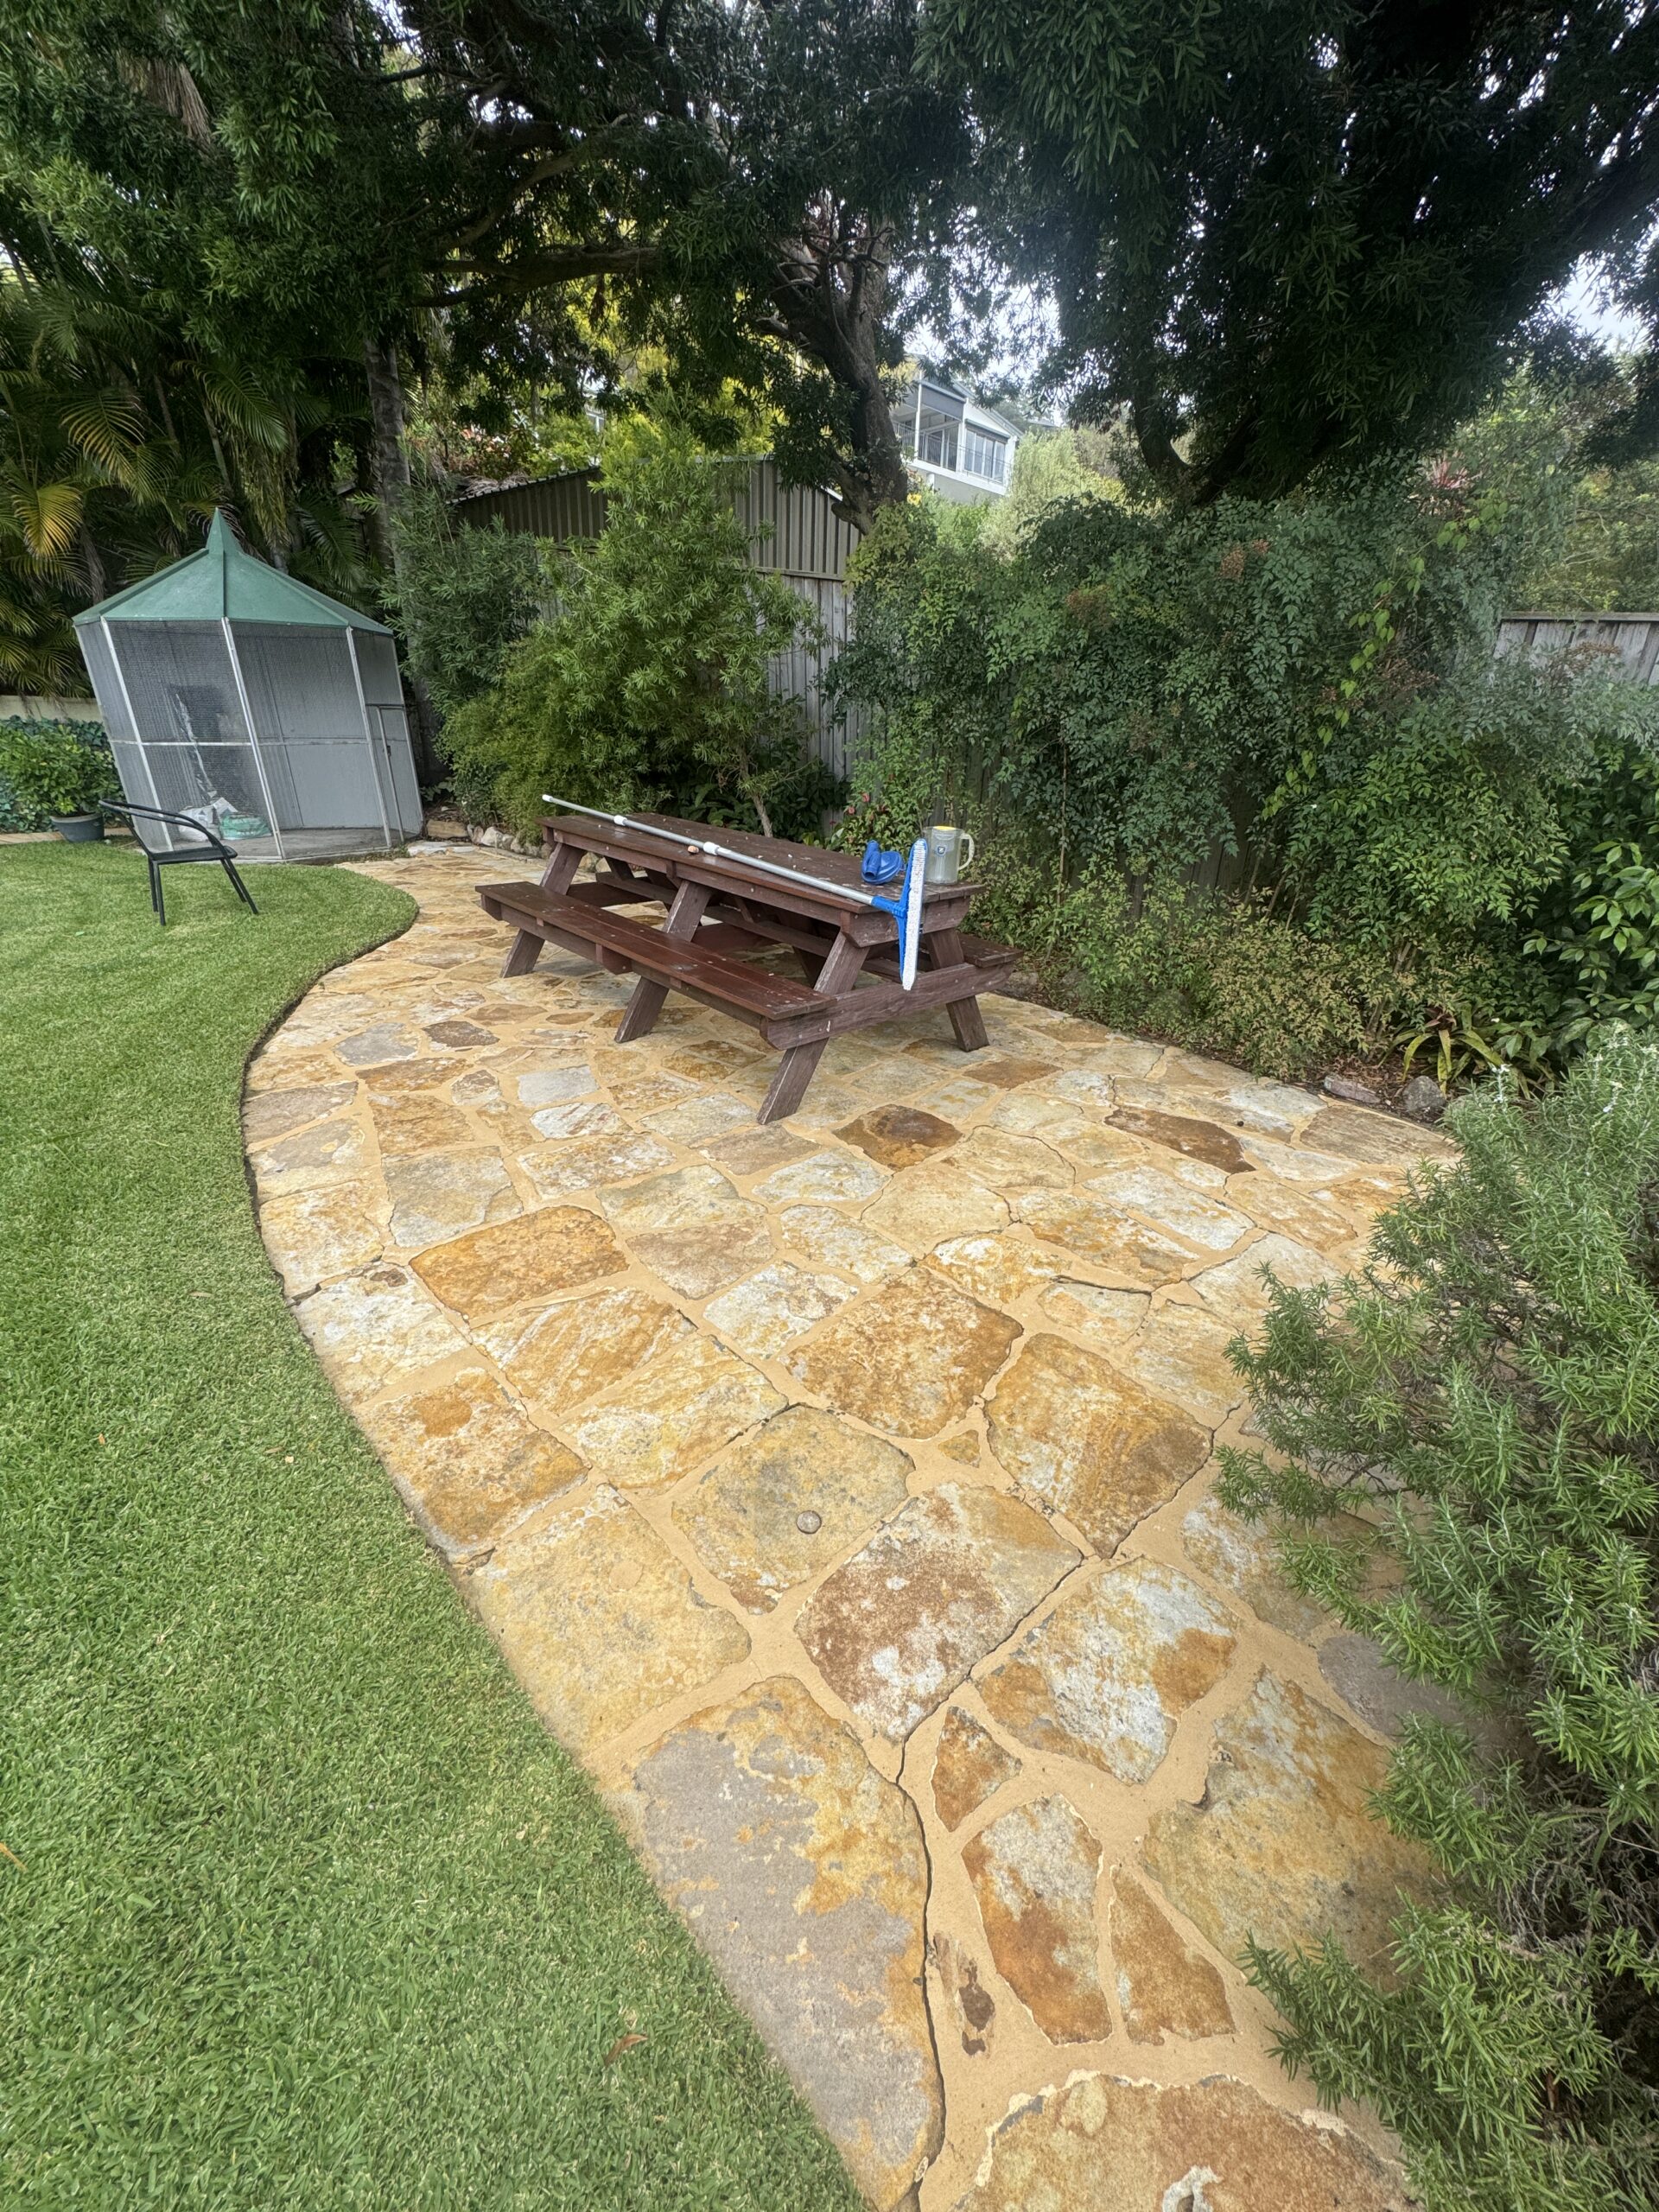
Take a look at this outdoor sandstone patio we were called to on the Northern Beaches. The before and after tells the story better than words.
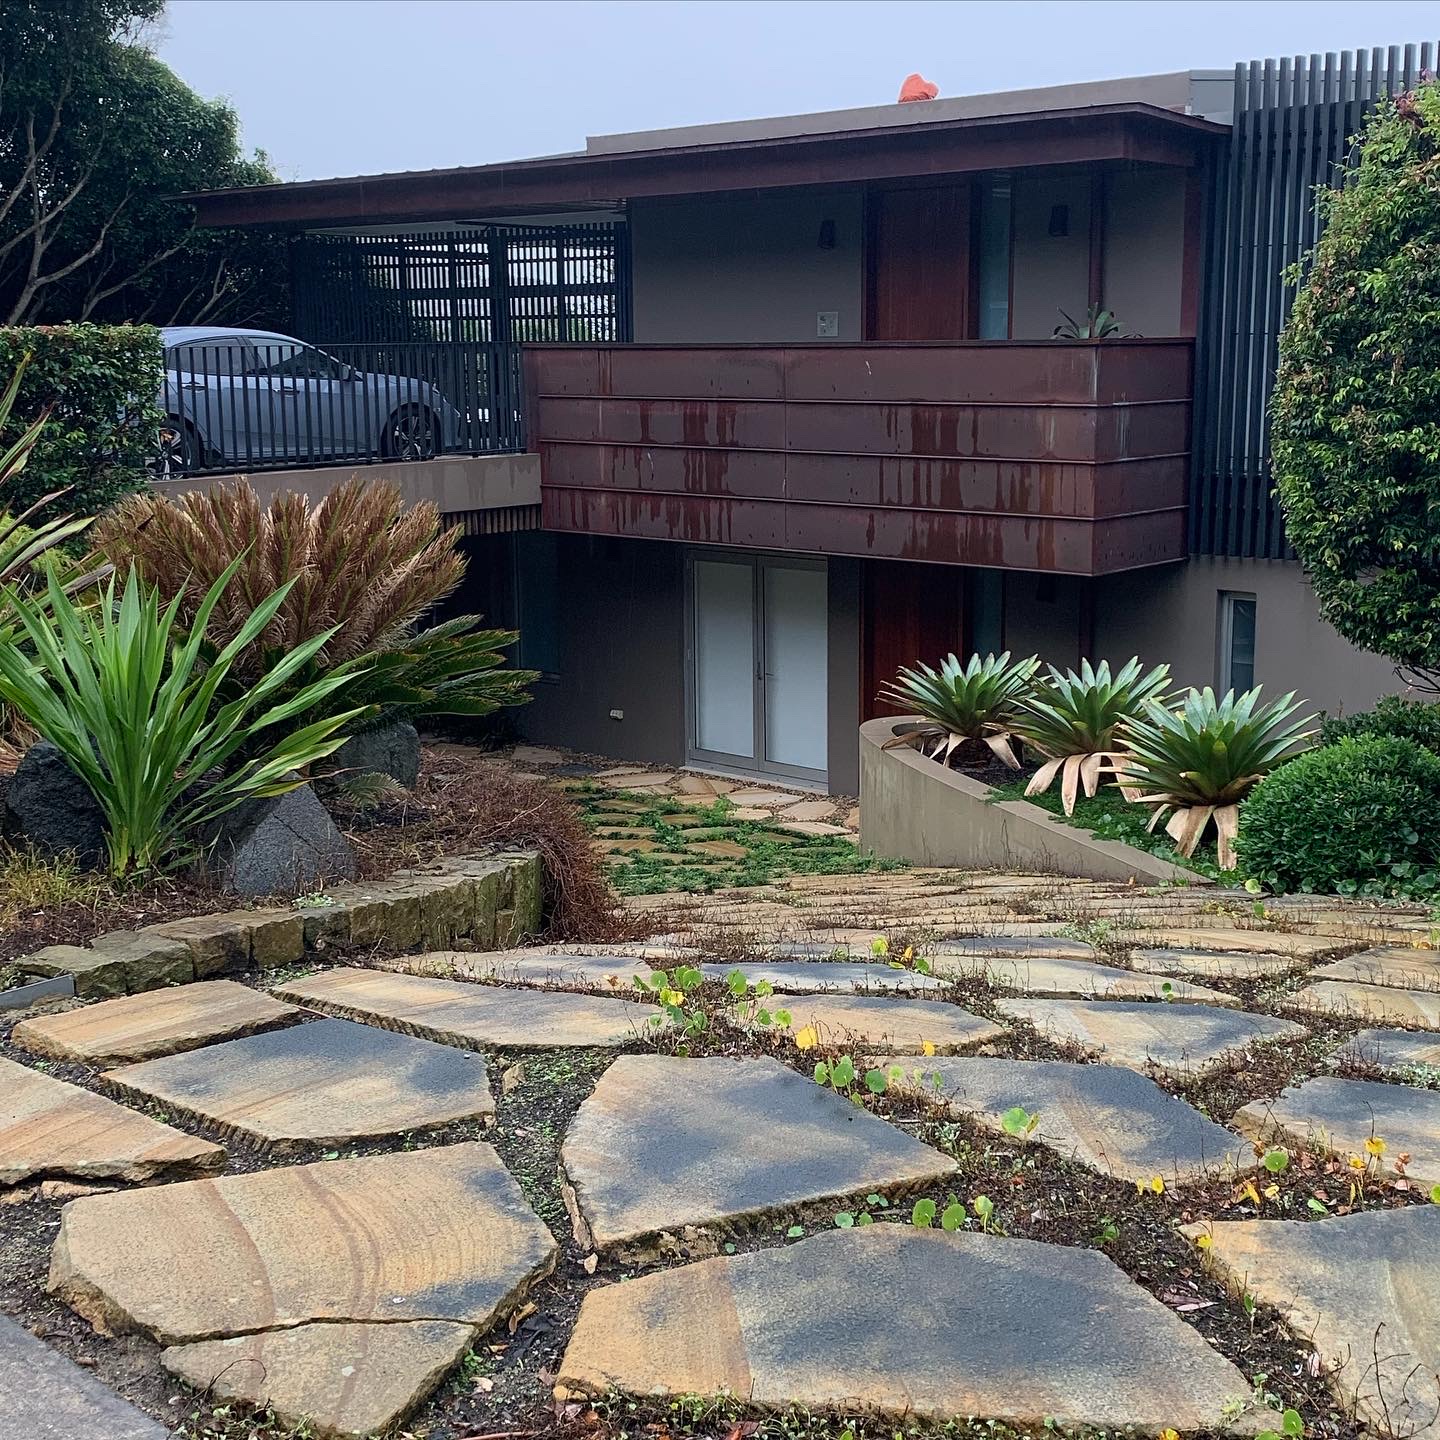
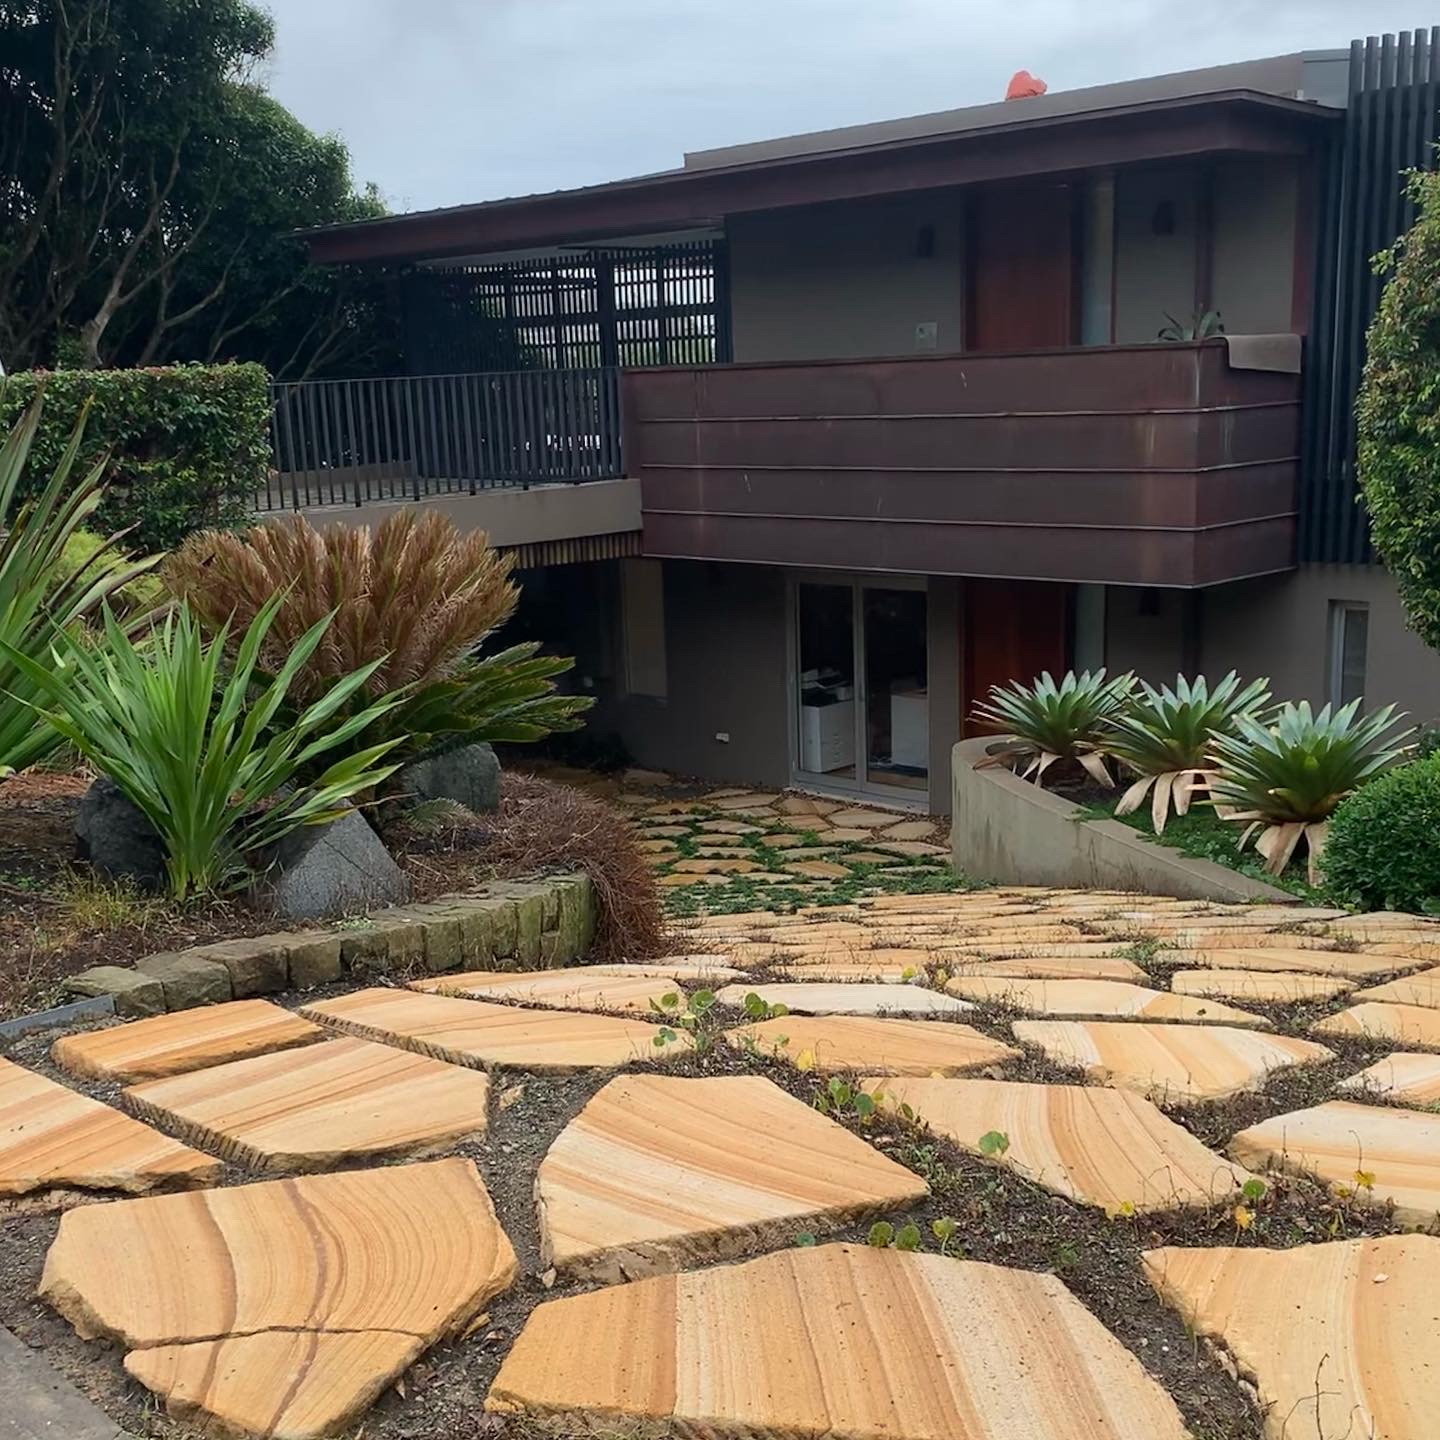
The difference isn’t just visual. The mould you see on the surface is the visible part — beneath it, organic matter and spores have been working into the stone’s pores for months or years. That’s why the stone looks dull, grey, and lifeless even in areas where the surface mould isn’t thick.
Want to see more recent before and afters?
Follow us on Instagram (@northernbeachesstoneandtile) or Facebook where we post our latest jobs across the Northern Beaches.
The 3 Most Common DIY Mistakes
1. Using bleach directly on natural stone
Bleach is effective at killing surface mould, but it’s harsh on natural stone. Used repeatedly, it can strip sealant, cause discolouration, and damage the stone’s surface — especially on limestone and marble. If you use bleach, always dilute it heavily and rinse thoroughly immediately after.
2. Pressure washing without preparation
High-pressure water removes surface mould quickly, but it won’t kill the spores sitting inside the stone. Without treating the root cause first, mould returns within weeks — sometimes faster than before. Pressure washing aged or unsealed stone also risks loosening grout and damaging the stone surface itself.
3. Treating the symptom, not the cause
Mould grows where there’s persistent moisture. Cleaning the mould without addressing drainage issues, poor ventilation, or excessive shade means you’ll be back scrubbing again in a few months.
What Professional Mould Removal from Stone Actually Involves
At Northern Beaches Stone and Tile Care, our process for outdoor stone mould removal isn’t just about making the surface look clean on the day. It’s about removing the problem properly so it doesn’t return quickly.
Here’s what a proper professional clean includes:
1. Surface assessment
Before any cleaning starts, we identify the stone type, the extent of mould penetration, and any existing sealant. Different stones require different products and pressure levels — what works on granite can damage sandstone.
2. Pre-treatment with the right solution
We apply a professional-grade antimicrobial treatment formulated for natural stone. This penetrates into the pores and kills the mould at the root — not just on the surface.
3. Pressure washing at the correct PSI
We use commercial pressure washing equipment calibrated to the specific stone. Too high and you damage the surface; too low and you don’t extract the mould properly. This step is where professional equipment genuinely makes the difference over a residential pressure washer.
4. Post-clean inspection and sealing recommendation
After cleaning, we assess whether the stone needs sealing. A quality impregnating sealer applied after mould removal dramatically slows regrowth — because it reduces the moisture the stone absorbs in the first place.
How Long Until Mould Comes Back?
Honestly? If mould conditions aren’t addressed, it will return — the question is when.
On unsealed stone in a shaded, humid Sydney location: expect regrowth within 3–6 months after even a professional clean.
On properly sealed stone with good drainage: 2–3 years is realistic before you need another professional treatment.
This is why we always recommend sealing as the final step of any mould removal job. It’s not an upsell — it’s the only thing that meaningfully extends the time between cleans.
Signs You Need Professional Help (Rather Than DIY)
- The mould has been present for more than a few months
- You’ve cleaned it before and it came back within weeks
- The stone is sandstone or limestone (both are highly porous and vulnerable to damage from incorrect products)
- The affected area is larger than a few square metres
- The stone is near a pool, where chemical interactions matter
Get a Quote for Outdoor Stone Mould Removal in Sydney
Northern Beaches Stone and Tile Care services homeowners across the Northern Beaches and greater Sydney. If you’re dealing with persistent mould on outdoor stone, pavers, or natural stone features, we can assess the problem and give you a clear recommendation — no obligation.
See our latest work on Instagram | Facebook
Northern Beaches Stone and Tile Care specialises in professional stone cleaning, restoration, and sealing for Sydney homeowners. We work with all natural stone types including sandstone, marble, limestone, travertine, and granite.